Knowledge is power. Learn to dominate your opponents by knowing all the details, advantages and possible grenades on a specific map. Improve you individual skill, gain self-confidence and outplay your enemies with knowledge. This is the start of our new guide series called “Map Mastery”, which will show you all the necessary basics, grenades and tricks for each competitive map. We want to start with the most played map in CS:GO – de_dust2.
Overview
1. Map Callouts
2. Rushtimings
3. Bomb Damage Radius
4. Default Setups
5. Smoke Guide
6. Flashbang Guide
7. Molotov Guide
8. General Tips and Tricks
9. ProPlays
Map Callouts
Rushtimings
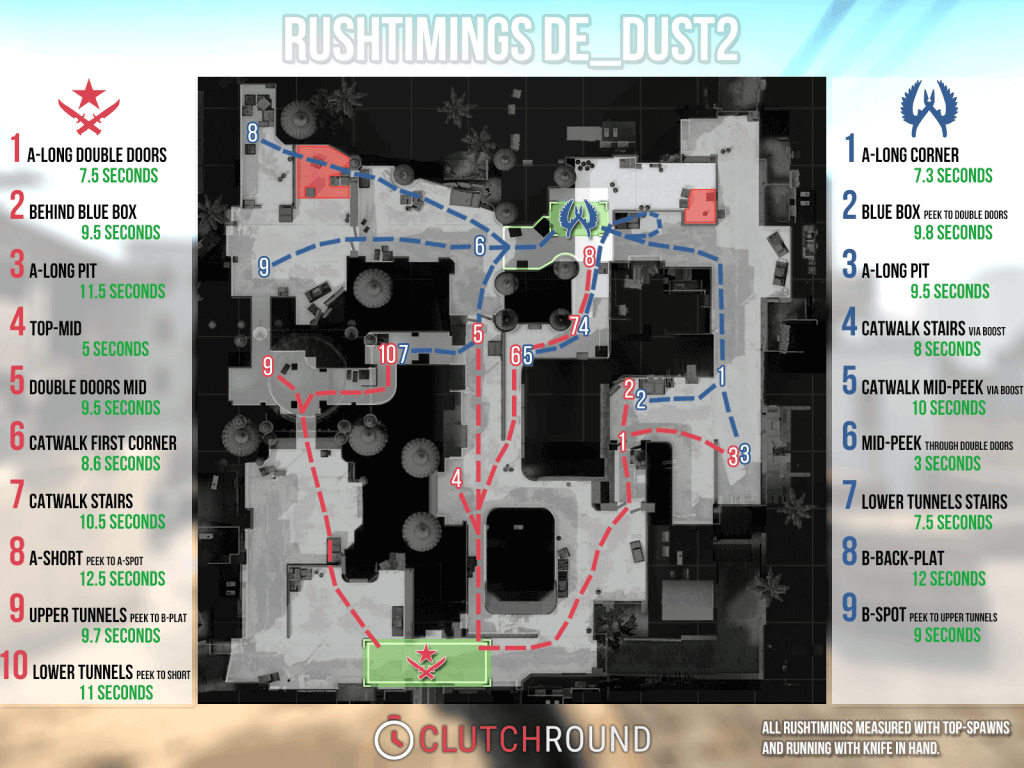
All Rushtimings were measured with Top-Spawns while running with a knife in hand (250 Units per Second) and using the shortest way as possible.
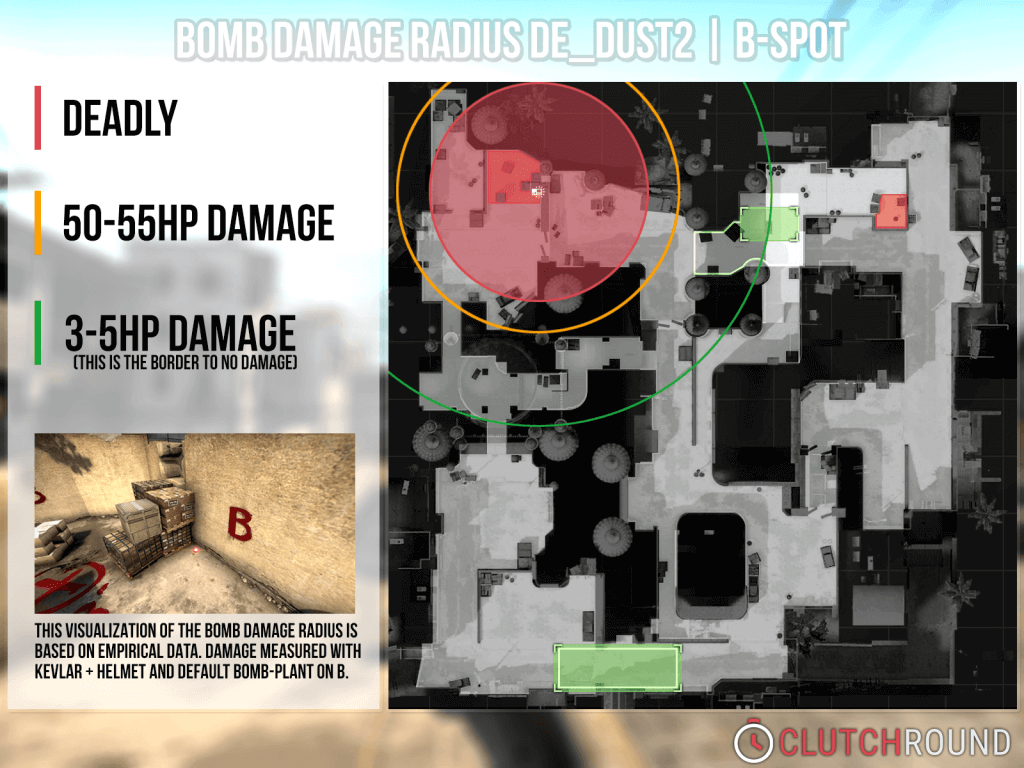
Bomb Damage Radius
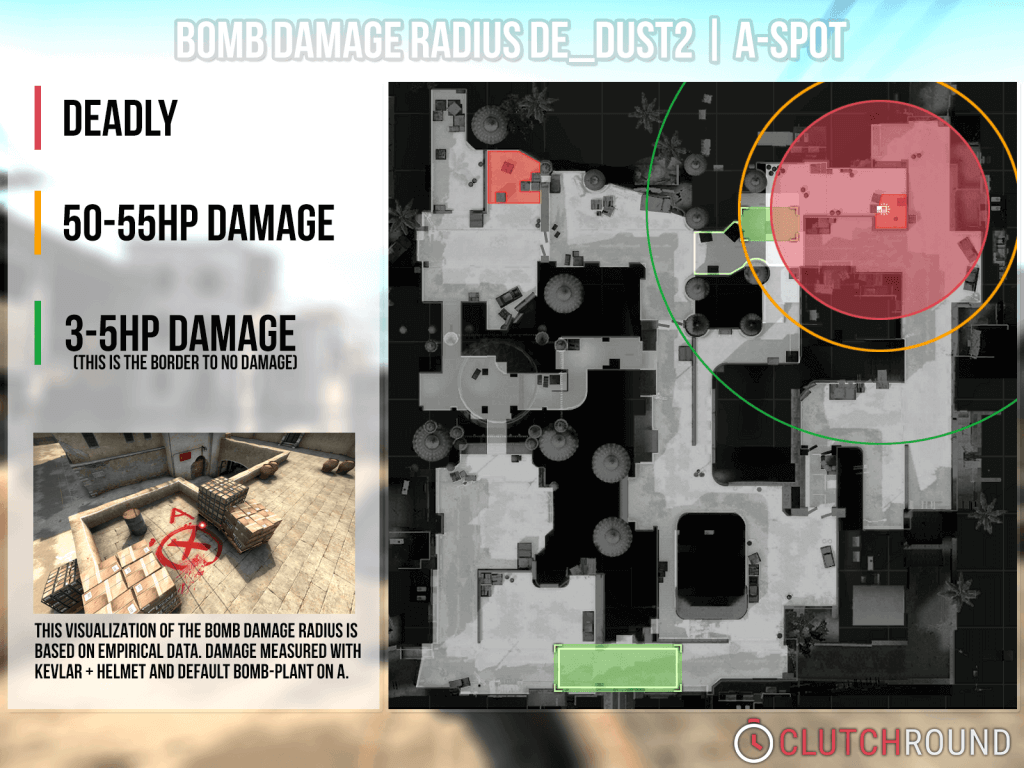
This visualization of the bomb damage radius is based on empirical data. We tried our best to get as accurate numbers as possible. The damage was measured with Kevlar + Helmet, but we focused on player health, so keep in mind that your kevlar value also reduces from the bomb explosion. Kevlar has an impact on the damage you receive from the explosion (like with grenades). Some positions (e.g. Back Plat on B) will allow you to survive the explosion, but you will lose about 50% of your kevlar. By the way, it doesn’t matter if you look straight into the explosion or if you turn around – the damage stays the same. Please take our images as a rough orientation and go on a local server to experiment with different bomb plants and positions. You can also visualize the bomb damage radius by yourself with using the console command “map_showbombradius“.
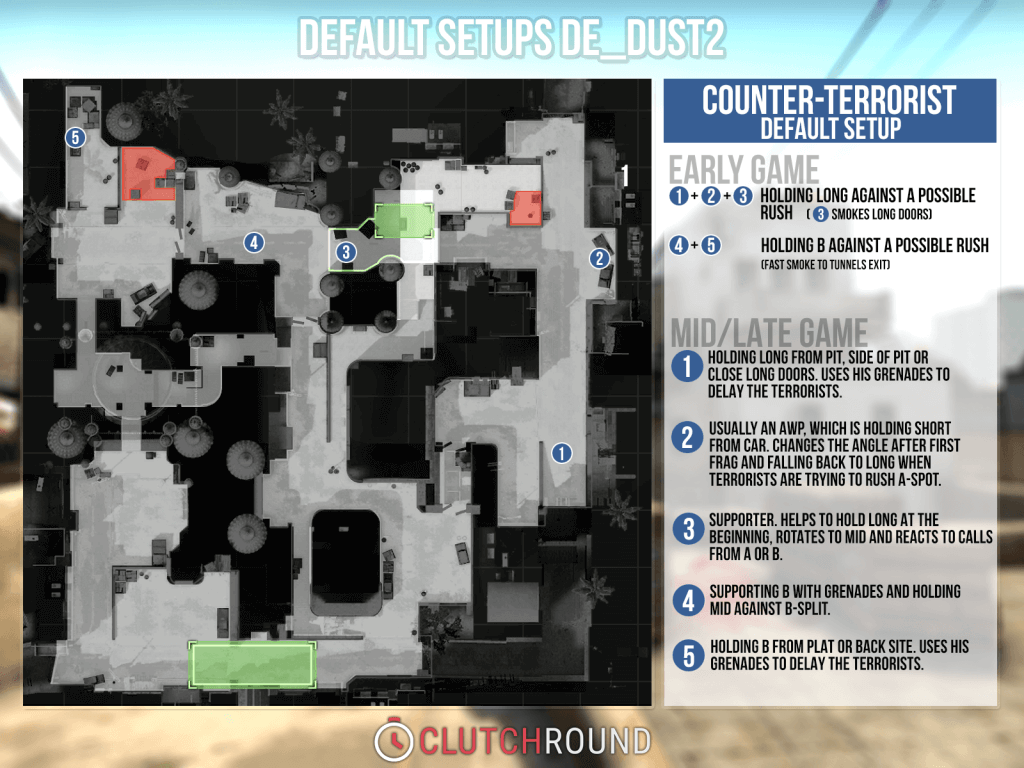
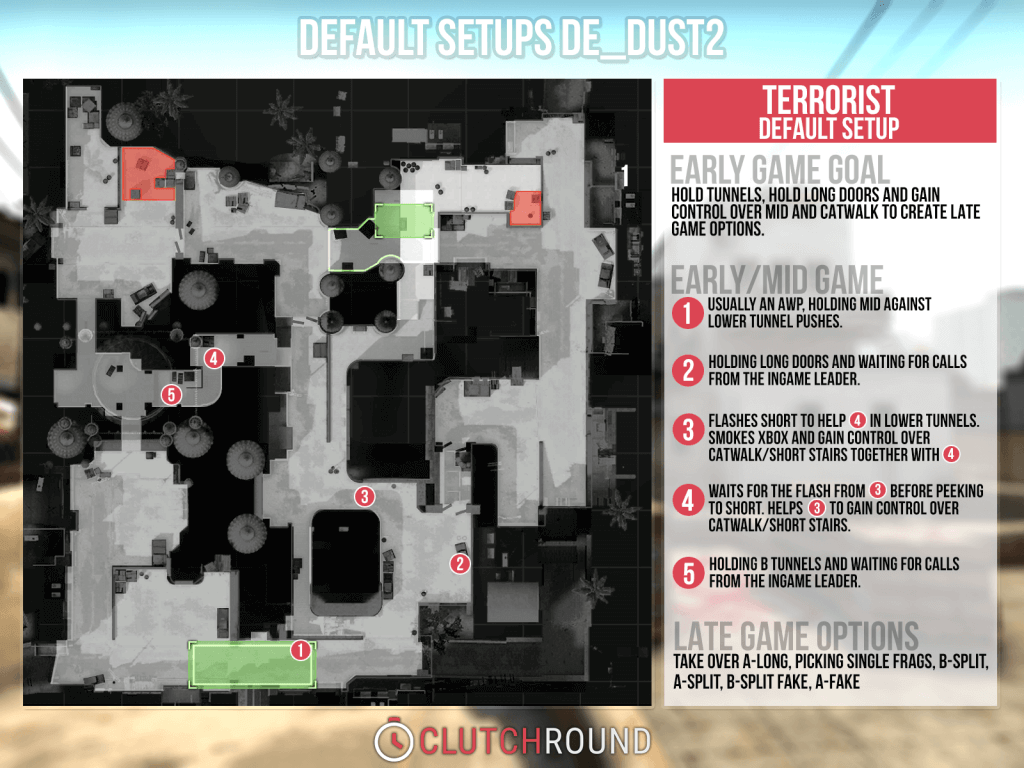
Default Setups
We want to show and explain you default setups for both sides (Counter-Terrorist and Terrorist), so you get an idea and overview how to play de_dust2 in the simpliest way. Default setups are very flexible and should give you several options for the mid and late game. They require at least a basic level of communication within the team and an Ingame-Leader, who is able to call the next moves and executions. Keep in mind, that every setup has its strengths and weaknesses and you still need to adapt your tactics to your opponent. Playing default setups also requires several gameplay basics and individual skill (Smoke Grenades, Aiming & Refraging, Teamplay, Communication etc). We are currently working on an additional video, which will show you both default setups in detail and explain a few things.
Smoke Guide
Flashbang Guide
Will be added as soon as possible.
Molotov Guide
General Tips and Tricks
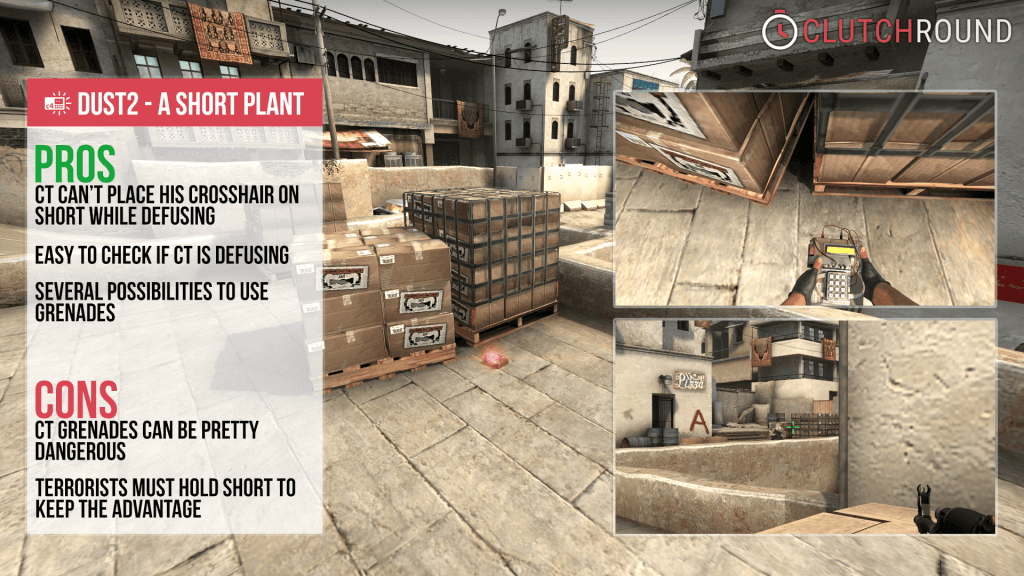
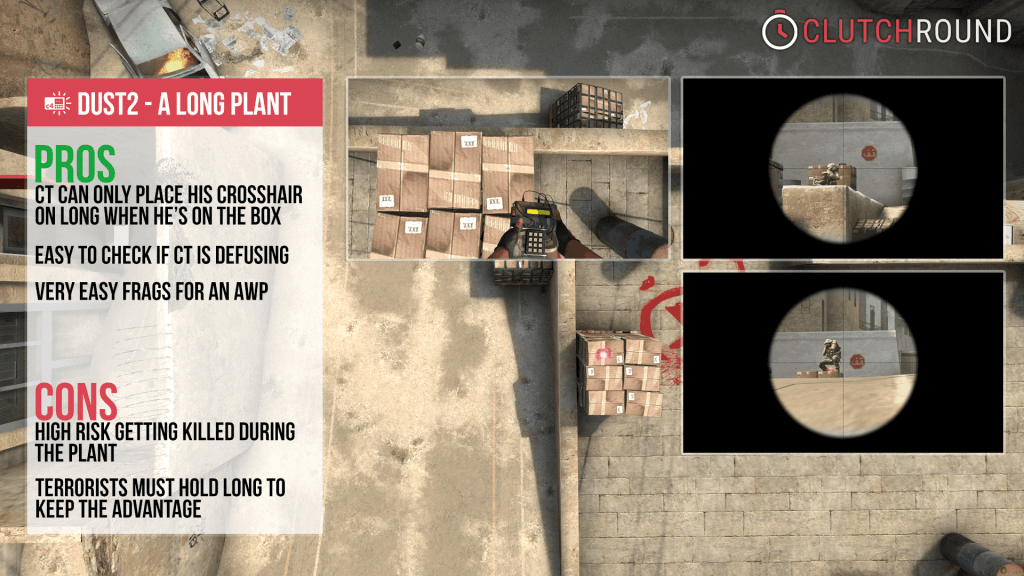
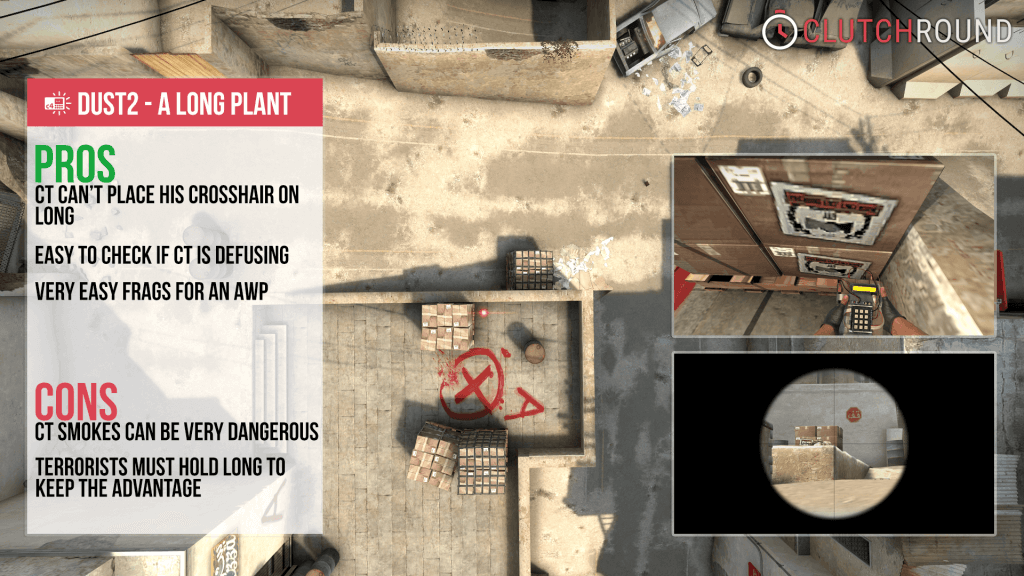
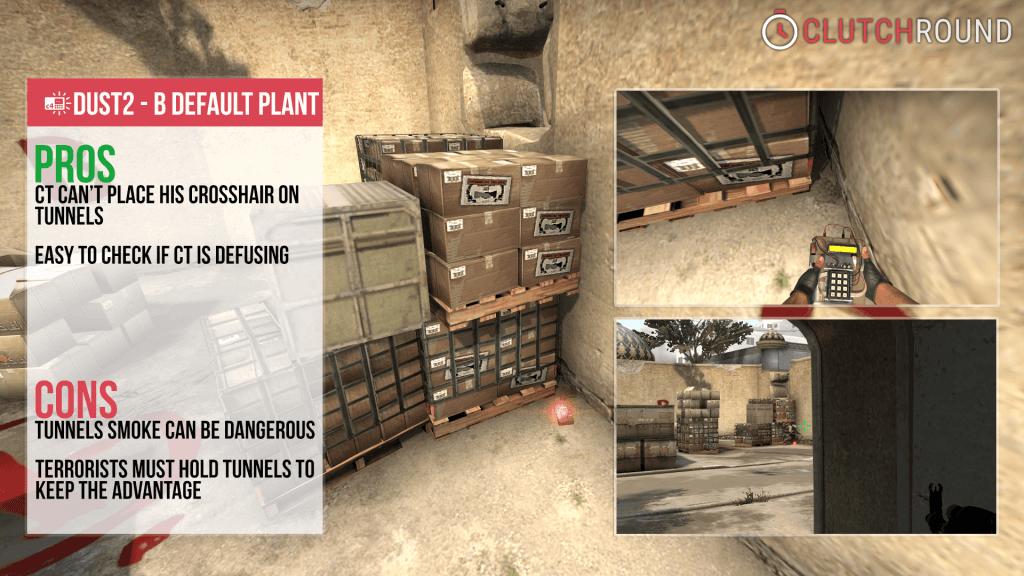
Bomb Plants
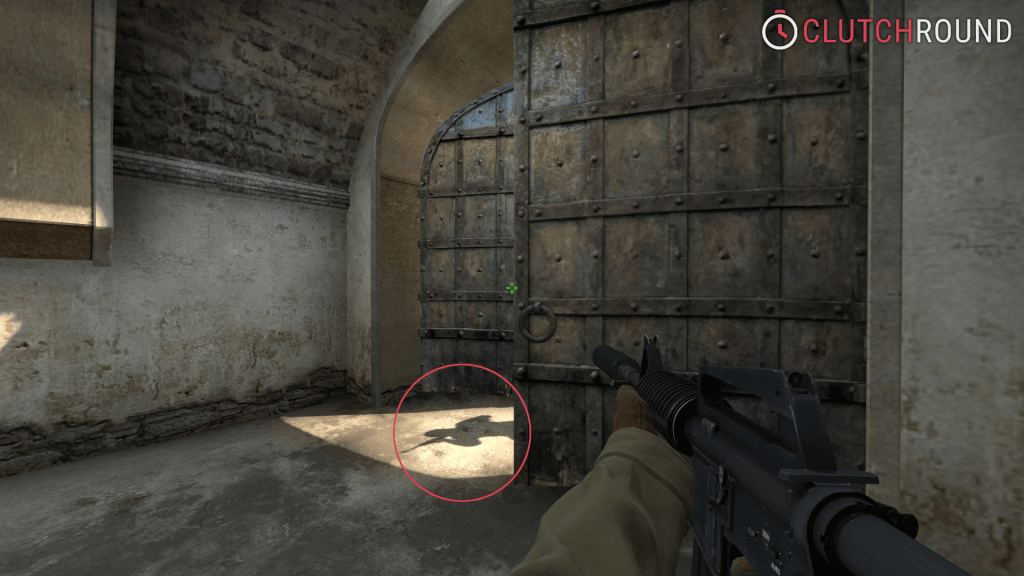
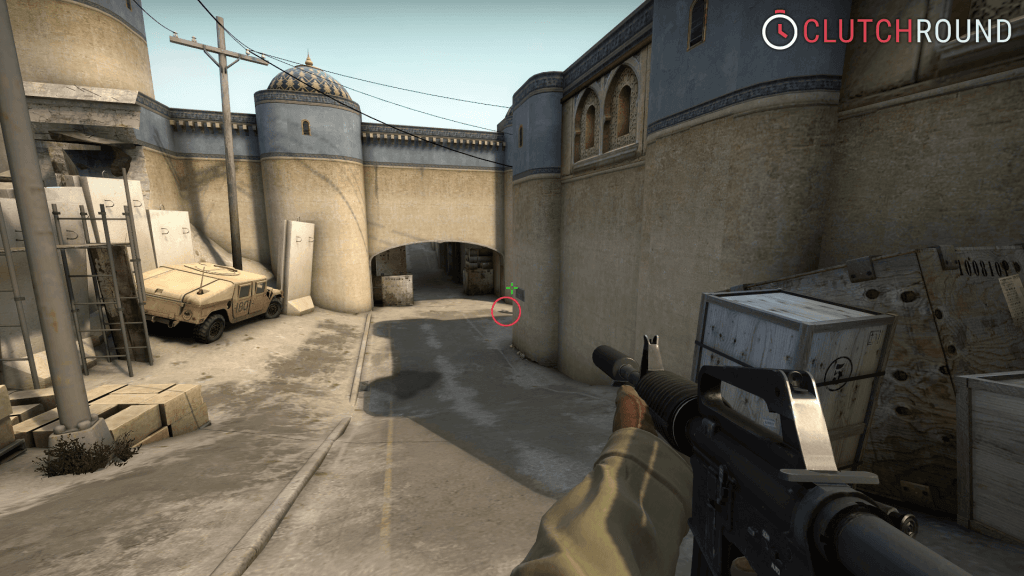
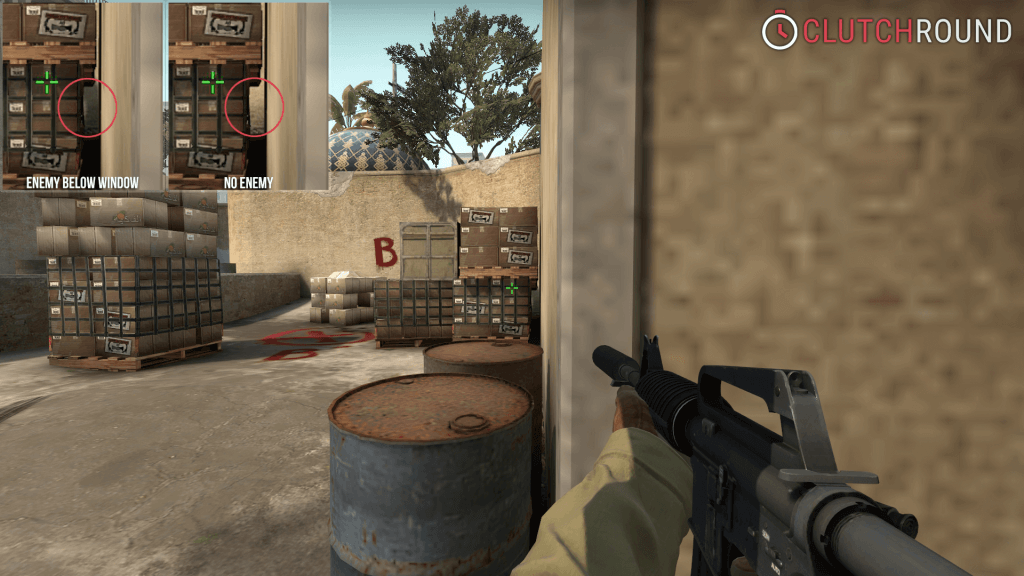
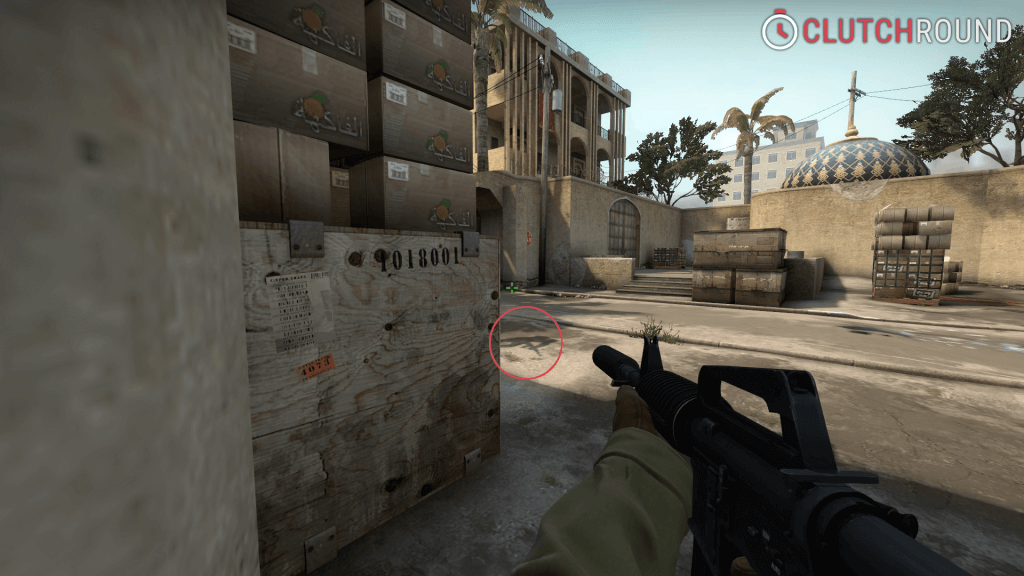
Shadow Advantages
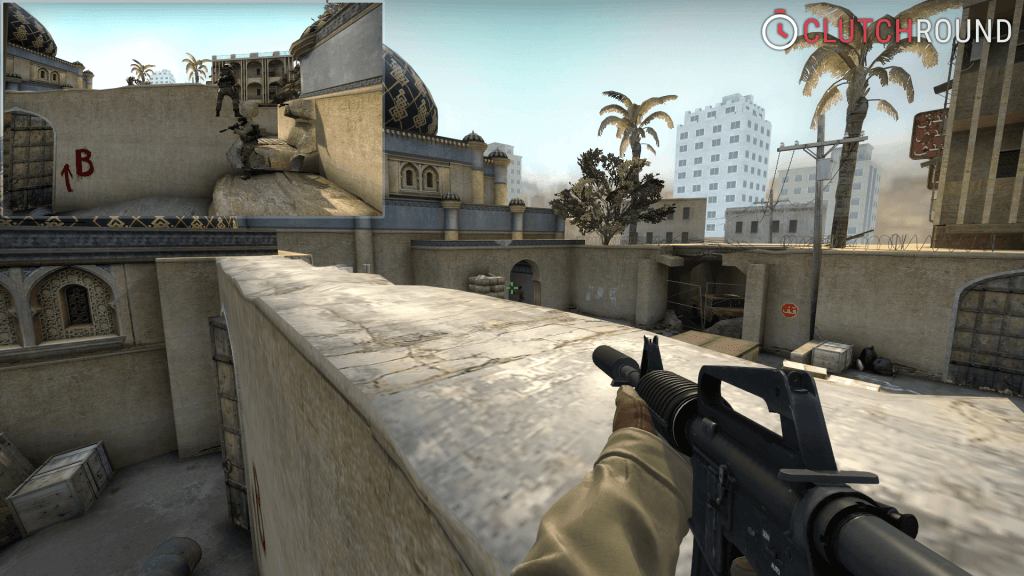
Useful boosts and towers
Misc
ProPlays
Will be added as soon as possible.
